After cleaning out the freezer, I found a small container of the starter for the Amish Friendship Bread. I'm inspired to make some, and thought I'd share the recipe..
Mind you, this is a 10 day process if you do not have a "starter"...
Below is the actual bread recipe, but you won't need this until you do the starter
(Recipes found on Allrecipes.com)
Amish Friendship Bread
1 cup Amish Friendship Bread starter
2/3 vegetable oil
3 eggs
2 cups all purpose flour
1 cup white sugar
1 tsp ground cinnamon
1/2 tsp salt
1/2 tsp baking soda
1 1/4 tsp baking powder
1 tsp vanilla extract
Directions
- Preheat oven to 350 degrees F (175 degrees C). Grease 2 (9x5 inch) loaf pans.
- In a large bowl, combine the Amish bread starter with oil, eggs, 2 cups flour, 1 cup sugar, 1 teaspoon ground cinnamon, 1/2 teaspoon salt, 1/2 teaspoon baking soda, 1 1/4 teaspoons baking powder, and 1 teaspoon vanilla. Mix well. Pour into prepared loaf pans.
- Bake in preheated oven for 50 to 60 minutes.
-------
It all starts with the "starter". Every variation of the Amish Friendship Bread starts with this. It's basically a pay-it-forward thing. You make the starter (this recipe yields 4 cups), when it's finished, you share a cup each with your friends, along with the recipe and so on.
Now to start:
(It is very important to use non-metallic utensils and containers! Don't know why, but that's what it says)
Amish Friendship Bread Starter
1 pkg of active dry yeast
1/4 cup warm water
3 - 1 cup flour
3 - 1 cup milk, warm
3 - 1 cup sugar
Day 1
- In a small bowl, dissolve 1 pkg of active dry yeast in 1/4 cup warm water. Set it aside for 10 minutes
- In a 2-qt glass, plastic or ceramic container, combine 1 cup flour and 1 cup sugar. Mix the flower and sugar well (so as to avoid lumps later.. I used a plastic fork to kind of wisk it and blend it all together).
- Slowly stir in 1 cup of warm milk (I put mine in the microwave for half a minute) and the yeast mixture into the flour/sugar mix. (I used a trusty plastic spoon to stir as I poured slowly)
- Cover mixture loosely and set aside. Day 1 completed.
Day 2 - 4
- Stir starter mixture with a spoon. Cover loosely and set aside again.
Day 5
- Add and stir in 1 cup of flour, 1 cup of sugar, and 1 cup of milk to the starter. Stir, and again, cover loosely and set aside.
Day 6 - 9
- Stir starter mixture with a spoon. Cover loosely and set aside for the next day.
Day 10
- Add and stir in 1 cup of flour, 1 cup of sugar, and 1 cup of milk to the starter. Stir well.
- Divide your starter into 1-cup portions.
- Remove 1 cup to make your first bread, give 2- 1-cup starters to your friends, and store the last cup in the freezer or use the remaining cup and repeat the steps again (beginning with day 2 of this recipe..*once you have the starter, consider it Day 1, so you will ignore Day 1 of this recipe and proceed to Day 2)
*****
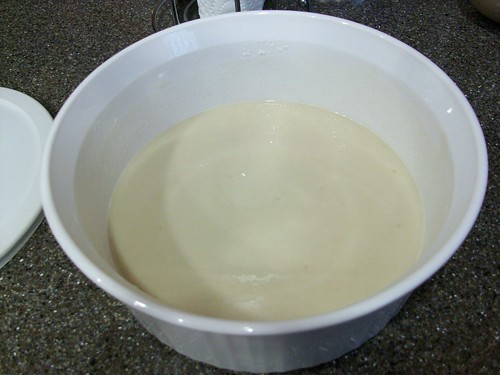
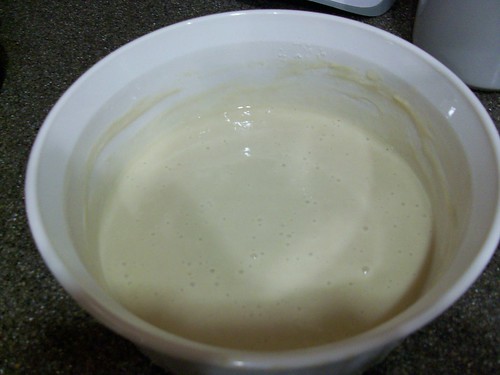
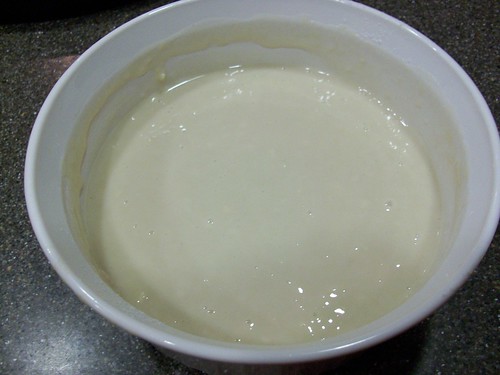
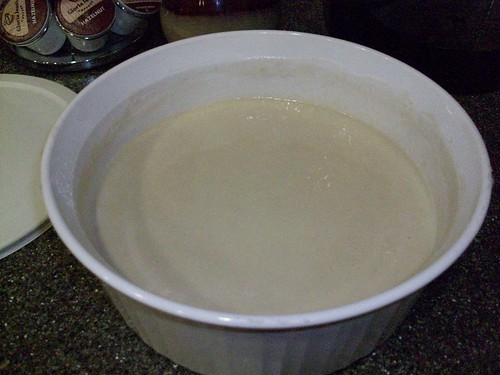
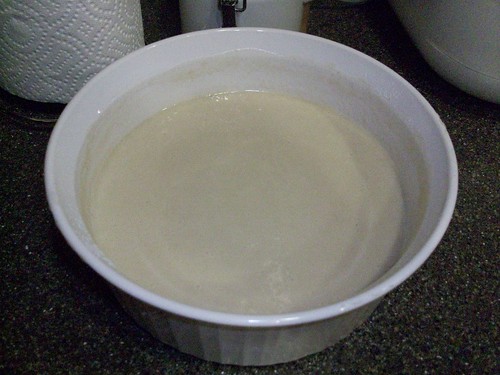
As I have done the starter before, these pictures were taken then..
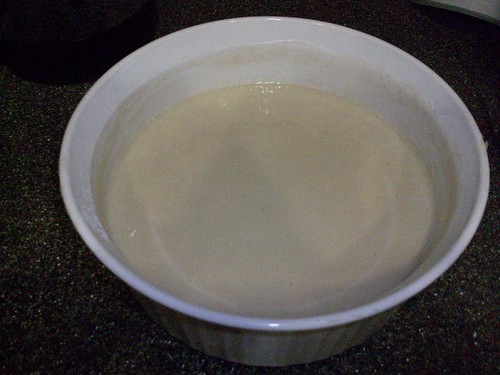
Day 1:
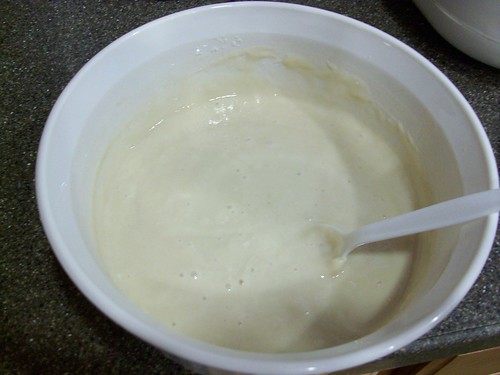
Day 2:
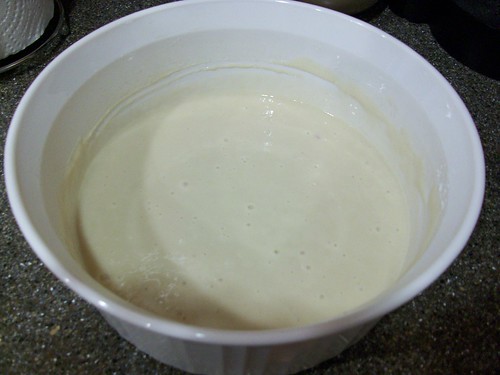
Day 3:
Day 4:
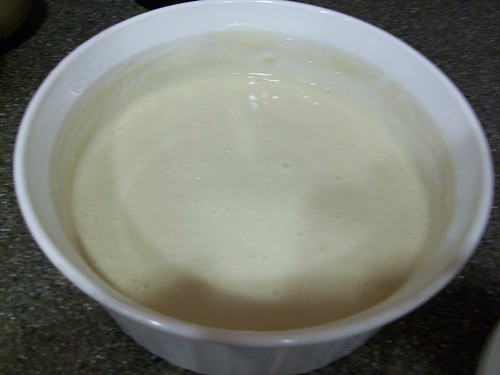
Day 5:
Day 6:
Day 7:
Day 8:
Day 9:
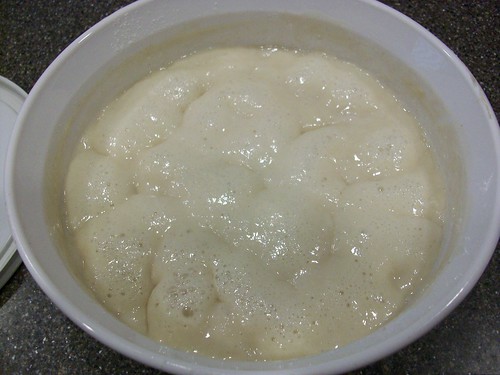
Day 10:
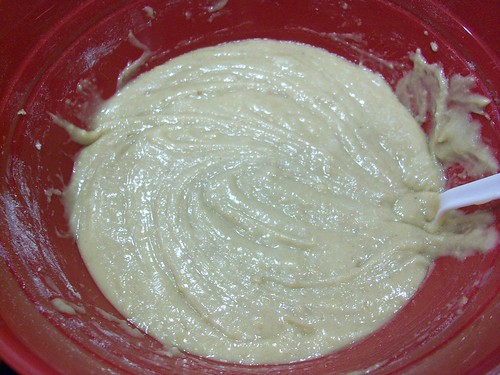
This is how it actually looked, after stirring, and before adding the rest of the ingredients
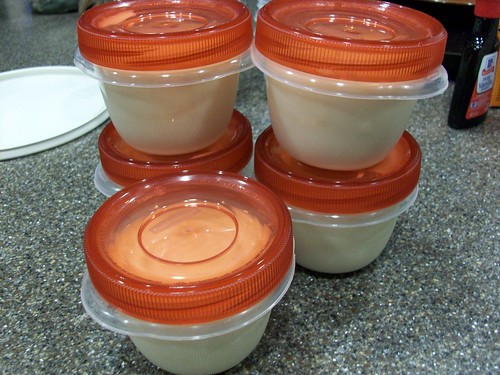
Divided into cups to share:
After adding the ingredients to one 1-cup starter (recall the basic recipe, you can change this up per whatever Amish bread variation you prefer):
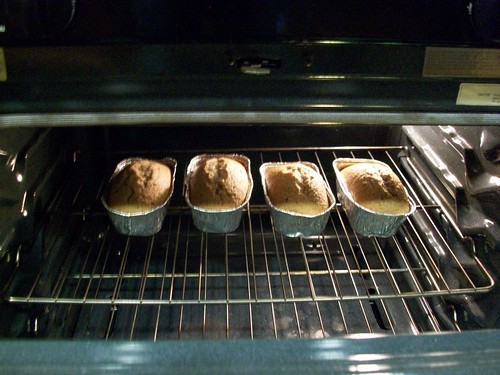
Baking in mini loaves as per instructions:
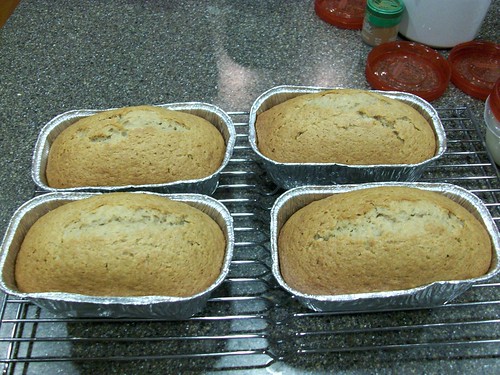
Et voila! A cinnamon-y sweet goodness


.JPG)